Monday, November 2, 2009

CNC'ed antenna hole plugs!

My buddy Amar from Vancouver has been bugging me for 6 months to make more of these, ever since I made one for my car.  Most of us with 240's have long since ditched the silly factory antenna that sticks out of the trunk fender at weird angles and doesn't work that well anyways, I installed an A-pillar antenna from my '85 244, looks and works much better.  But now we're left with a 3/4" hole into the trunk!  Mine was plugged up with a sticker for 4 years to keep the leaks out, surprisingly worked great, but I knew there was a better solution. 

So I finally got around to making a batch of 10 CNC machined antenna plugs last week.  Took me 7 hours start to finish to basically re invent what I had made before, write the g-code practically all by hand, debug the program and pop them all out.  Now that I have the programs I could do another batch of 10 in probably 2 hours.  It installs flush with the fender and uses an o-ring to seal the moisture out.  Overkill?  Definitely. Beautiful?  You betcha.


I also made a quick and dirty light box today!  Always wanted one, so this morning I googled it, it's way easier than I thought. It's literally just a cardboard box with holes cut out of 3 sides, a piece of white paper taped to the ceiling of it, a piece of paper curled up the bottom and back, with a big pillow case overtop.   The key is having a good bright white light source.  I happen to carry around a wicked new flashlight that I bought last month, it's a Nite Core EZ AA, tiny little thing that packs a huge punch, and only requires one AA battery.  The body isn't much larger than the battery itself.  Two settings, low and high.  Low is good outdoor nighttime walking light, a little dim, around 10 lumens for 20 hrs.  On high it turns into daylight with 130 lumens that lasts continuously for 1hr.  Been using it a lot for a month and I'm still on the first battery.  Amazing flashlight, I bought it from www.4sevens.com for $60 shipped with two lithium batteries, worth every penny.  Surprisingly in the light box, my cheezy old sony cybershot took an identical photo whether the flashlight was on low or high, cool eh?


Also just a few pics of my 242 from the summer.  You can see the antenna plug in the first pic.


Sunday, October 25, 2009

Shifters and strut braces are done!

Haven't posted in a little while, but I'm so glad to have all the shifters shipped out.  They have so many little parts that each take a lot of machining or finishing time, it's nice to finally get to the last step which is assembly.  You know, installing the bearings and clips and reverse lockout and wiring and knob and button etc etc etc.  Mindless work that takes a few hours.  So last week I brought a big huge box of parts inside, plopped it down in front of the TV and it took 3 movies to assemble all the shifters. 

Here are some pics of the nickel process, first up is a pair of rusty old shop pliers that I nickel plated first.  They were pretty horrible and dark brown before, so I soaked them in Muriatic (hydrochloric) Acid for about 20 minutes.  It's nasty nasty NASTY stuff, but boy does it get the job done.  It eats through rust first, then into the steel, so it's great for nickel prep.  But the fumes are horrible, so I had the garage door open and a fan blowing the fumes outside.  However, that didn't stop those fumes from landing on EVERY SINGLE steel part on my shop and creating a nice layer of surface rust, including my lathe, milling machine, and all my tools.  Fun.  Steel wool and WD40 got it all off without too much drama, but I'll have to figure out a better method next time, might just put the bucket of acid far outside.  Aaanyway, so the pliers turned out better than the pics show, since they were pretty pitted to begin with.  The next pic is just a bath in distilled water to rinse them off.  Since they're too long to fit the entire shifter underwater I have to do them in two dips of 30 minutes each, and in that pic you can see the water line.  Not pictured is the actual nickel bath, but it's done in a tub like that white one.  You can see a pic of one of my plates of nickel that's seen a lot of use, the cloth wraps around it in the bath to keep the big chunks together.  This thing started out looking like a nice piece of sheetmetal!  I think it's time to replace it.  Nickel plating is basically electrolysis if I'm getting my terms correct here, the plates get power and the part gets grounded, then the acid steals nickel particles from the plate, lets it swim around the bath, then sticks it to the part.  Pretty cool stuff and very durable if your substrate is squeaky clean. 


All the BIG strut braces are done and have been shipped except for the two polished ones, which I'll ship out tomorrow.  I had customers start receiving this recent batch of firewall braces and say "They're too short!  What's wrong?".  Well it turned out that I screwed up, for some crazy reason I cut them all just over half an inch too short while I was making them (even though I followed my notes exactly, well, I guess not..), and through a lapse in judgment I never test fit them on my car before shipping them.  Duhhhh.  Luckily, very luckily, it's an easy fix.  Yesterday I machined a bunch of spacers and bought longer bolts that I'll be shipping to all those customers free of charge, my bad.


Here are some pics of the polishing process for the BIG strut braces.  First I used an 80 grit flap wheel on my dremel to scrape off the ugly oxide layer and get it down to bare aluminum.  Although this worked well, it left indents from every time I'd reverse direction while sweeping the dremel back and forth, the first pic showed this well.  That just meant more time and effort on the polishing wheel later on.  After scraping the whole thing with the flappy wheel I took some 320 grit sandpaper and hand sanded the whole thing for a while, I found it was helpful to use a foam backing, also pictured.


Next it's onto the buffing wheel.  Be forewarned, this makes a BIIIIG mess!!!  Since I didn't have a dedicated buffing wheel motor I decided to stuff a smaller buffing wheel into the drill chuck of my milling machine, works great!  Lets me really push the part into the wheel.  Another option would be to mount the wheel in a hand drill, but I think this would take longer cause you can't really push as hard and it'd be harder to control.   I knew from prior buffing experience that I would really want to cover up my tools this time around, so I wrapped packing paper over every surface of my tools and taped it down.  It took me around 3 hours to sand and polish each bar, it's a long time, but the results are so worth it!  I also wore a dust mask which was a brilliant idea, cause after polishing the mask was black and so was my face around the mask.  I used two different buffing "rouges", a 3 and a 6, although I don't know if those are industry standard numbers or what, I just got them from my local hardware store.  Shiny shiny shiny!  Lastly I used the awesome Mothers Powerball (car waxing tool) to wax them, this really helps to prevent fingerprints and will hopefully keep them free of oxidation for a long time.


 Lastly a quick update on my milling machine, I'm having a hard time finding a left hand ballnut but I think I've got a place that can hook me up.  I finished making the required mods to the factory casting, you can see in the first picture where I had to take my angle grinder and chow down on that lip for the full length of the table, this gives plenty of ballnut clearance.  Next pic shows how I rounded the corners of the ballnut and mount to further help with clearance. 

Wednesday, October 14, 2009

I got all the shifters nickel plated the other day (yay!), I'll post pics when I get them uploaded.

Also worked a bit on my CNC milling maching.  The X axis is DONE (woot), the Y axis will be done when my new left hand ballnut comes in.  I found a local place (Motion Industries, huge company, lots of branches in the US and Canada with one nearby, awesome place!) that will have one for me by friday, $46 canadian, not bad at all!  I paid $25 US for a right hand thompson ballnut from Mcmaster, and I found a few prices for left hand ones at various stores in the US for around $35us, so $46 canadian at a local place is completely reasonable.  Also Mcmaster has been kind enough to ship me a replacement right hand ballscrew free of charge, since they shipped me that left hand one by accident.  But since I've already machined the LH one I wanna use it.

I have to remind myself sometimes that I'm still a car guy at heart, and that it's mostly volvo guys that are reading this blog, not die hard machinists.  So as I go along I'm going to start posting the cool things that I'm picking up and hearing about in the Volvo world!

First off, this is just freakin cool.  A regular on the Turbobricks forums has done it again.  Not only has he built an insane 242 with a turbo 16v engine, stuffed a twin turbo V8 into a volvo 740, played with other makes of cars, but now he decided to part out his '95 M3 and stuff the 240hp engine and transmission into his other 240.....IN THREE DAYS, start to finish.  Read all about it here!
http://forums.turbobricks.com/showthread.php?t=184194


Also in recent TB news, my good buddy Kenny "Captain Bondo" from Vancouver finally dyno'ed his sexy 240 wagon with the S80 6cyl whiteblock engine swap.  388 hp at the rear wheels!  At a silly low 16psi boost.  Not bad at all!  I bet he could crank out 500whp if he were really willing to break some parts.  Although even now he says 1st and 2nd gear are useless for traction and 3rd is a gamble!  Kenny is quite the fabricator, he's an incredible TIG welder and he's got years of professionally working on cars, so he really knows his stuff.  He installed a Ford explorer 8.8 rear axle to replace the weak sauce volvo one, did the entire paint and body work on his car in his attached garage, installed huuuuge brembo brakes on the front with home made adapters, built a fully aluminum exhaust system from intercooler piping (and it's actually holding up!) the list goes on and on.  He hasn't really nailed down a "project thread", but this one is probably as close as it gets:
http://forums.turbobricks.com/showthread.php?t=160024


This past weekend was the 8th annual "South East" meet in Alabama, I drove down last year from Canada and had an absolute blast, but I couldn't make it this year.  To sum up the events that I've read of this year, 500dollar Matt's car (740 16v turbo) made a very satisfying 370whp @18psi and didn't break down during the 750mi trips each way from Virginia.  But the star of the weekend was Kenny (the host) who finally got his new built engine back into his 740 and laid down an insane 510whp!  And went to the dragstrip and blew a 10.82@129mph!!  That's with an all volvo engine and volvo automatic transmission, unbelievable.  Okay, well custom pistons/rods/cams, but it's still a volvo engine.  Good job dude.  Several other guys laid down great numbers/times too, but I think those two were the highest.  You have to realize that Kenny's car had been off the road for over a year during this rebuild and he just got it thrown back together a day or two before the meet.  He's a man who knows how to git'r'done.

Sunday, October 11, 2009

Nearing completion

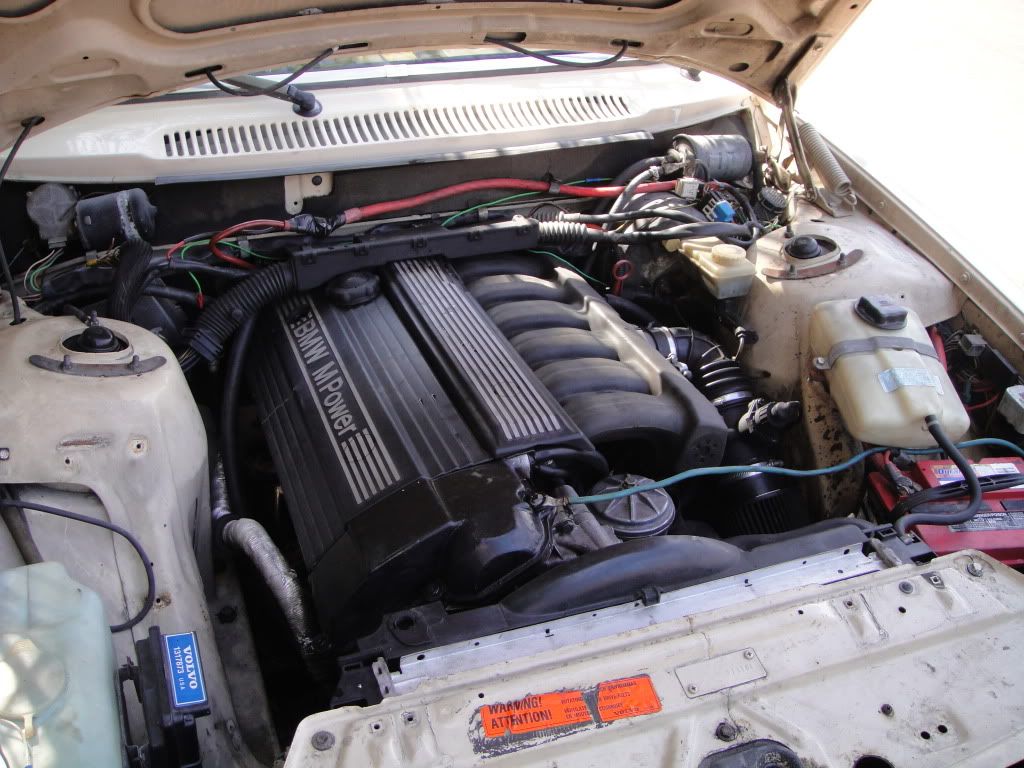
Over the past two weeks I've been trying to finish up all kinds of projects big and small.  A lot of times I have too many things going on at once so I get a bit overloaded and backed up, however I'm getting much better at managing everything.  Lets see here, what have I been up to lately...

Well for starters I finally got all the TIG welding done for my batch of BIG strut braces!  Most of those have shipped out, I still have to finish polishing two bars and then that project will finally be complete.  I also finished powdercoating the plates and firewall braces for that group buy.  And in that bag is also 8 reverse lockout tubes for my shifters, fresh from the oven with black powdercoat on them.  In the bag you see mostly super gloss black with some chrome firewall braces on top, and on the table they're chrome on top, black, transparent blue over chrome, and silver with a clearcoat. 


On the shifter front, they're sooo close to being done.  Today I'll be nickel plating the shifter shafts, then once that's done it's just assembly.  Yesterday I nickel plated 16 of my hardened lower pins (pictured a few posts below) and luckily every single one turned out perfect!  Also pictured is how I drill the hole in the shaft for the overdrive wiring.  I used to use drill bits and step up in size, but that left rough edges and a horrible burr on the inside, now I just use a 3/8" 4 flute endmill and it cuts like butter!  Barely any burrs at all, I take a quick pass at the edges with my dremel before calling it good.  And when I put the wiring in, I use a rubber grommet to protect it from the edges of the hole.  There's a pic of some M90 shifters that I nickel plated a few months ago, I've got a bunch more that need to get plated here soon.  The last pic is one of my nickel tanks, notice I wrapped it in bubble wrap to keep the heat in there.  One tank has to keep ~113° F and the other one should be 160-200° F, so now that it's starting to get really cold out this bubble wrap helps to keep the heat in.  It's 11am here in early october and it's only 4° C!!  What's that in Fahrenheit, 39.2°.  Nice and sunny though.  I know some place in canada have well below freezing and snow right now, so I'm not complaining too bad. 


Whaddoya know, another shifter picture I just found, forgot about this little guy.  These are nylon tubes that I machine and are installed in the reverse lockout mechanism (black slider) on the shifter.  Just a tiny bit of grease and the reverse lockout slides up and down silky smooth.  Two springs go below the nylon to spring it back to the down position.  The big chips are from parting them off at the exact length required, and the little chips are from turning the outside from around 0.754 to 0.740". 


I've also been working lots on my CNC milling machine!  Boy it's just about done, I'm ecstatic!  FYI for anyone thinking about doing the conversion, you have to be pretty passionate about it to have the drive to get it done, there's a lot to do and a lot to spend.  Eventually I want to create a page on my website dedicated to my machining adventures including all the details of the conversion, but for now these random bits of info will have to do.  I've been doing a ton of wiring, I decided to wire up the mill for 5 axis control, just cause I can, and cause I plan to actually have it be 5 axis someday.  For now it will be 4 axis (XYZ and a rotating 4th axis) and the 5th will control a stepper motor for my tapping attachment, so that I can tap threads into holes easily and repeatably.  I covered all the wiring that will hang out around the milling machine with hose, just automotive vacuum hose, to keep any water/coolant/chips out.  I sealed the ends with a big goop of silicone sealant and that cool heat shrink with the glue inside.  The connectors are also sealed, the pics show that.  In the future I will build a large enclosure that houses the milling machine and keeps all the chips under control, and also keeps the flood coolant contained and recirculated. 

I am basically following the instructions by "Hoss", from www.hossmachine.info.  He has done an incredible amount of innovation with his machine (the same one that I have), and I plan to do practically all the mods that he's done, and a bunch more that I have in mind.  For the initial conversion I don't really have to do a lot of physical modification to the machine, just drilling/tapping a few holes and grinding away a few casting spots to make room for the new goodies.  All of which is completely reversible, but who the heck would convert BACK to manual control after the joys of CNC???????????  I certainly never will.  Ever. 

Hoss is even kind enough to post all the cad drawings for the parts you need to machine for the conversion, making the swap a whole lot easier.  I ran into a few snags when I tried to modify his plans and add things of my own, just a few things I overlooked, no biggie.  The pics show some holes in the machine that I had to drill and tap for metric M6, that's what I did last night.  All his plans are for imperial bolts, but I like to use Metric since I'm a volvo fan, and since the machine uses metric bolts too.  At first I had a really really tough time drilling through the cast iron with my cordless drill, it just wasn't biting at all.  I thought there might be a trick to cast or something, then I bought a new drill bit and it sliced through like butter!  The pics also showed some parts that I had to grind away.  Hoss said that he used an angle grinder for all of it, but I found that it would only get me half way, then I used my dremel with a double cut carbide burr to finish it off, worked awesome! 

I bought my ballscrews and nuts from Mcmaster.com, same place I got the ones for my lathe.  They only list right hand threaded nuts and screws on their site, but they shipped me one RH and one LH, with three RH nuts!  At the time I received them I though "no biggie, I can reverse the direction in Mach3 to compensate, it'll work fine.  I didn't realize that the RH ballnuts won't work on the LH screw, figured that gem out yesterday too.  And I already machined the screws and threaded them, don't really wanna do that again, so I might see if I can find a cheap LH ballnut and get it here quick.  I e-mailed Mcmaster but haven't heard back yet.

Other than that, I just have to throw the machine back together, lap the ways with valve grinding compound to make them slide smoother, get myself a LH ballnut, then the X and Y (left/right and in/out) axissesses will be done.  I need those two done and CNC'ed so that I can finish up the Z (up/down) motor mount, which won't take long at all.  I just need to mill a big ~2" pocket into the plate for some bearings to hide, so the computer will control X and Y and I'll manually feed down the Z axis for each pass.  Then bolt up the Z stuff and holy cow I'll be done!  I would still have to wire up the E-stop button and the limit switches, along with the tach and the touch probe, but that stuff can wait until I've made a few fun chips with full CNC control!